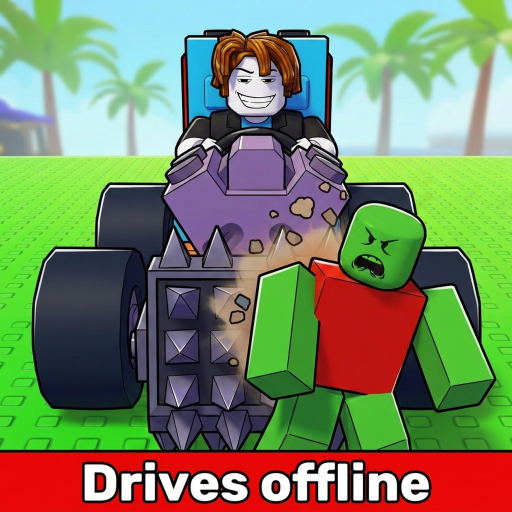
Build and Kill Zombies: Weapons List and Index Checks
Look up the Shredder, Double Barrel and Green Smasher, then check unlocked entries and installation requirements in your own menus.
This Build and Kill Zombies weapons list covers three demonstrated names: Shredder, Double Barrel and Green Smasher. Use it to recognize equipment in the interface, then inspect your own unlocked entries before buying or mounting a replacement. It is a starter list rather than an exhaustive export of the live Index.
Named starter reference
| Weapon | Known context | How to use this entry |
|---|---|---|
| Shredder | Tutorial weapon | Use its opening installation as the first comparison baseline |
| Double Barrel | Observed beginner equipment | Check whether your menus show it unlocked and owned |
| Green Smasher | Observed beginner equipment | Inspect the actual entry before planning a replacement |
The tutorial Shredder is the clearest starting point because its installation is part of the opening build sequence. The other names are demonstrated equipment, but that does not establish their relative damage, rarity, price or position in an overall ranking. Read the displayed entry you can actually access.
Turn a name into a usable inventory choice
For each candidate, distinguish three questions: can you obtain it, do you own it and can it be mounted on your current car? A name seen in a video only answers recognition. The inventory and Build interface answer the next two questions.
Index shows unlocked parts and displayed stats. Use those visible fields when deciding whether a replacement serves your goal. Do not fill missing fields with another weapon's values or assume that equipment with a similar name has identical behavior. If an entry is not available in your menus, keep it as a future target while continuing with a usable owned weapon.
Check the mounting dependency
Open Build and choose Weapons to select equipment. Use a highlighted point and inspect the placed result on the car. More Support Skills add weapon mounting slots; inspect available slots before assuming your next purchase can be installed.
A front-facing support arrangement is a practical baseline because it meets zombie groups before the rest of the vehicle. Once you have that baseline, compare placement under similar driving choices. A mounted weapon that rarely contacts the zombies you steer through may need a layout revision rather than a more expensive replacement.
Keep your own shortlist specific
- Write the exact name from your own menu.
- Note whether it is unlocked, owned and already mounted.
- Identify the component or placement it would replace.
- Name one visible result to compare after installation.
A shortlist organized this way is more useful than an unqualified strongest-to-weakest list. It prevents duplicate purchases and highlights when the next obstacle is a slot, not another weapon. Keep separate notes for missing equipment and equipment that is owned but not yet installed.
After a trial, compare kills alongside distance and the run's end condition. If fuel changes between runs, total kills alone may exaggerate the weapon's contribution because the car stayed on the road longer. If placement changes, record the new position rather than attributing the result entirely to the name on the item.
For an installation walkthrough, use equip weapons and defenses. For a decision between owned alternatives, open weapon comparison. Return to your Index after a game change so this starter reference stays a recognition aid rather than a reason to ignore the live interface.