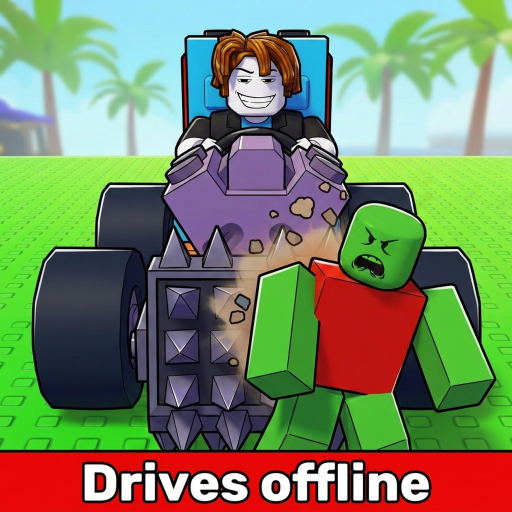
Build and Kill Zombies: Compare Weapons on Your Car
Compare one weapon or placement at a time, hold fuel and engine stable and judge contact alongside kills and distance.
A Build and Kill Zombies weapon comparison is useful when it isolates what changed on your own car. Start with the tutorial Shredder as a mounted baseline, then compare one owned alternative or one placement. Keep engine and fuel stable so a longer drive does not masquerade as a stronger weapon.
Set up the two candidates fairly
Shredder, Double Barrel and Green Smasher are demonstrated weapon names. Inspect your own unlocked and owned entries before choosing a pair. A candidate you cannot mount is not ready for a driving comparison; check highlighted points and support availability first.
Read any displayed information in the live menus, but do not invent missing damage, range or cooldown values. The method below compares behavior and results you can observe rather than assigning unsupported numeric ratings.
Hold the useful conditions constant
| Factor | Keep stable | What the comparison can then tell you |
|---|---|---|
| Engine and fuel | Same installed arrangement | A reward gain is less likely to be only added driving range |
| Weapon position | Same usable mounting point when possible | The trial focuses on the equipment replacement |
| Driving approach | Similar lines through zombie groups | Contact differences are easier to interpret |
| End-condition record | Read it for both runs | Empty fuel remains separate from placement or acquisition |
Change the weapon or the position, not both at once. Use a similar approach to zombie groups and inspect whether targets actually meet the equipped part. Front-facing support weapons meet zombies before the rest of the build, making a front arrangement a practical baseline to inspect.
Interpret the result without erasing the trade-off
Read kills alongside distance and the end condition. If one run stays on the road longer, its larger kill total may partly reflect more opportunities. If contact looks better but the total reward barely changes, repeat the trial before directing your budget toward a replacement.
A poor result can come from an unusable position rather than the weapon name. If the new equipment rarely meets zombies, restore the previous placement and separate a layout comparison from the item comparison. A showcase with several weapons does not isolate any one of them.
Turn the comparison into a purchase decision
- Keep the original working arrangement available.
- Confirm the candidate is actually installed before launch.
- Repeat a close result under similar driving choices.
- Compare the observed benefit with the live acquisition cost.
Choose the replacement when it serves the named goal and fits your available slots and budget. Keep the baseline when the alternative adds cost without a recognizable improvement. If the obstacle is mounting capacity, inspect More Support Skills before shopping for another weapon.
This is an editorial comparison workflow rather than an official damage ranking. It can help you decide between the candidates your inventory permits, but it does not establish a universal strongest weapon across every build. Use weapons list to recognize the named starters or equipment mounting to resolve installation first. A useful winner is one you can equip and whose advantage survives a fair ordinary-run comparison.